


In this two part series, we will explore two of the key security products in Red Hat’s CoreOS offering: Quay and Clair.
Red Hat Quay container and application registry builds, analyzes, and distributes container images. Quay provides a Docker registry service and integrates with Clair, which scans container images for security vulnerabilities. Together, these tools deliver unparalleled outside container content security.
Where do you get your container images from? According to Container Journal, unprotected layers in images - especially those built using open source components - can leave the door open for hackers to gain access and ultimately control of key functions.
One significant advantage of container use is portability, which has facilitated the creation and sharing of microservices. These stripped out application functions are fully capable of running on their own, or in conjunction via APIs with other microservices. Developers utilize containers to create and share microservice-based applications. This process has driven developer productivity and increased capacity to deliver more high quality features to users quickly and efficiently.
However, public repositories like DockerHub and GitHub offer unrestricted access to microservices and other software content. While this does allow developers to download and access quickly, the unrestricted access to public software repositories can lead to serious security concerns.
Gartner notes that container security is, in fact, among the top ten priorities for IT professionals, as developers increasingly depend on containers to push digital business capabilities rapidly through the development pipeline:
"Each of these containers must be screened for vulnerabilities and issues before being put into production. Container security must integrate with common developer tools and the CI/CD pipeline and be used with comprehensive APIs to support a variety of security tools."
The solution is trusted container registries that offer CIOs the capacity to regulate the origin of container based software content. Tools that offer private container registries for software developers are crucial to properly secure containers and maintain development speed and volume. These trusted registries offer the capacity to limit where developers find their content, digitally sign the images they use, and scan images for vulnerabilities.
Installing Quay
We will start with installing Quay in part I of this series. We will then pick up part II with installing Clair.
The following section walks you through installing Quay on an existing Openshift environment. For our example, we will be installing in an OCP environment version 3.11.98. If you haven’t installed the OCP platform, Please start with https://access.redhat.com/documentation/en-us/openshift_container_platform/3.11/html/getting_started/index , this needs to be present and working before continuing. Another assumption we are making is that your install will take advantage of using Ansible Server 2.6
Clone quaydeploy repo
Kubernetes object definition files required to deploy Quay are available in the quaydeploy repo. These yaml files have been modified from the original, distribution versions to work with a 3.11 OCP environment. Original basic Quay install instructions can be found at
$ git clone git@gitprd.ssc.tsc:red_mmcdonough/quaydeploy.git$ cd quaydeploy/
Create project
Create a new, dedicated project for Quay. In order for Quay to work properly, OCP needs to be informed that the project is for internal OCP functions and communication to the Quay Containers that will be started. The Quay services are run as containers within the OCP/Docker framework.
$ oc new-project quay-enterprise --display-name='Quay Enterprise' \ --description='Quay Docker registry and Clair image scanner.'
Configure authentication for quay.io registry
If the existing OpenShift nodes will download Quay container images directly from their source registries, authentication for quay.io registry must be configured as the quay.io registry does not allow anonymous access.
Note - If the container images will be staged in the OpenShift internal registry, this secret is not required.
$ oc create secret generic coreos-pull-secret \ --from-file=".dockerconfigjson=config.json" \ --type='kubernetes.io/dockerconfigjson' -n quay-enterprise$ oc secrets link default coreos-pull-secret -n quay-enterprise Stage container images
Stage container images in the OpenShift internal registry. These steps should be executed on a laptop/PC to workaround firewall issues impacting the Ansible and OpenShift nodes.
$ docker login -u="coreos+rhcp" \ -p="L6ZXXVHD9XLQ7PR7HBNRW2FAIZQNJYHREISFGCUBIB45C43WCWYU3DZ0FHJH2AY5" quay.io$ docker pull quay.io/quay/redis$ docker tag quay.io/quay/redis \ registry.apps.ocp-dev01-bna.ssc.tsc/quay-enterprise/redis$ docker push registry.apps.ocp-dev01-bna.ssc.tsc/quay-enterprise/redis$ docker pull quay.io/coreos/quay:v2.9.5$ docker tag quay.io/coreos/quay:v2.9.5 \ registry.apps.ocp-dev01-bna.ssc.tsc/quay-enterprise/quay:latest$ docker push registry.apps.ocp-dev01-bna.ssc.tsc/quay-enterprise/quay:latestReview Kubernetes object definition files
Review .yml files cloned from Git repo. Verify that image names, hostnames, connection strings, are correct for the current deployment.
Deploy supporting components
Note - Do not instantiate quay-enterprise-service-nodeport.yml as OpenShift route will be used instead.
$ oc create -f quay-enterprise-config-secret.yml -n quay-enterprise$ oc create -f quay-servicetoken-role-k8s1-6.yaml -n quay-enterprise$ oc create -f quay-servicetoken-role-binding-k8s1-6.yaml -n quay-enterprise$ oc adm policy add-scc-to-user anyuid \ system:serviceaccount:quay-enterprise:default -n quay-enterprise$ oc create -f quay-enterprise-redis.yml -n quay-enterprise $ oc new-app postgresql-persistent \ -p=VOLUME_CAPACITY=5Gi \ -p=POSTGRESQL_USER=quayuser \ -p=POSTGRESQL_PASSWORD='<REDACTED>' \ -p=POSTGRESQL_DATABASE=quaydb \ -n quay-enterpriseFix Postgresql startup error
The Postgresql pod will fail to start initially due to a permissions error/problem with the postgresql-data storage volume. To correct this problem, mount the volume on a temporary, utility pod and update the file/directory permissions. Once the permissions have been set, stop the utility pod and restart Postgresql.
$ oc rollout cancel dc/postgresql -n quay-enterprise$ oc create -f task-pv-pod.yml -n quay-enterprise$ oc get po | grep task-pv-pod -n quay-enterprise$ oc rsh <task-pv-pod name> -n quay-enterprise/ # chmod 777 /mnt/ # exit$ oc delete po/task-pv-pod -n quay-enterprise$ oc rollout latest dc/postgresql -n quay-enterpriseCreate database for Quay
The database is needed to keep information such as image names, scanning credentials and whether or not the image has been digitally signed. It keeps track of various other aspects such as release versions and where they may be attached to in the environment such as other projects.
$ oc get po | grep postgresql$ oc rsh <postgresql pod name>sh-4.2$ echo "CREATE EXTENSION pg_trgm" | \ /opt/rh/rh-postgresql96/root/usr/bin/psqlCREATE EXTENSIONsh-4.2$ echo "ALTER USER quayuser WITH SUPERUSER;" | \ /opt/rh/rh-postgresql96/root/usr/bin/psqlALTER ROLEsh-4.2$ exitDeploy Quay
Deploying the Quay service is done as containers through the Openshift (OCP) platform. Since Quay will be communicating with the internal OCP resource tools and scheduling components of the OCP platform, its best that they run as containers to be closely monitored by OCP
$ oc create -f quay-enterprise-app-rc.yml -n quay-enterpriseAttach persistent storage and create route
Persistent storage is a necessary component for Quay and Clair as this serves as a storage area for images while they are being scanned, updated and then eventually signed. This is a resource intensive process and having enough storage is a prerequisite to installing Quay and Clair.
$ oc set volume deployment/quay-enterprise-app --add=true \ --name=quay-registry --claim-size=50Gi --claim-class=trident \ --mount-path=/datastorage --overwrite -n quay-enterprise$ oc set volume deployment/quay-enterprise-redis --add=true \ --name=redis-data --claim-size=5Gi --claim-class=trident \ --mount-path=/var/lib/redis --overwrite -n quay-enterprise$ oc expose deployment quay-enterprise-app --port=80 -n quay-enterprise$ oc create route edge quay-enterprise-app --service=quay-enterprise-app \ --hostname=quay-enterprise.apps.yourquayserver.com -n quay-enterprise
Configure Quay
*Please Note*
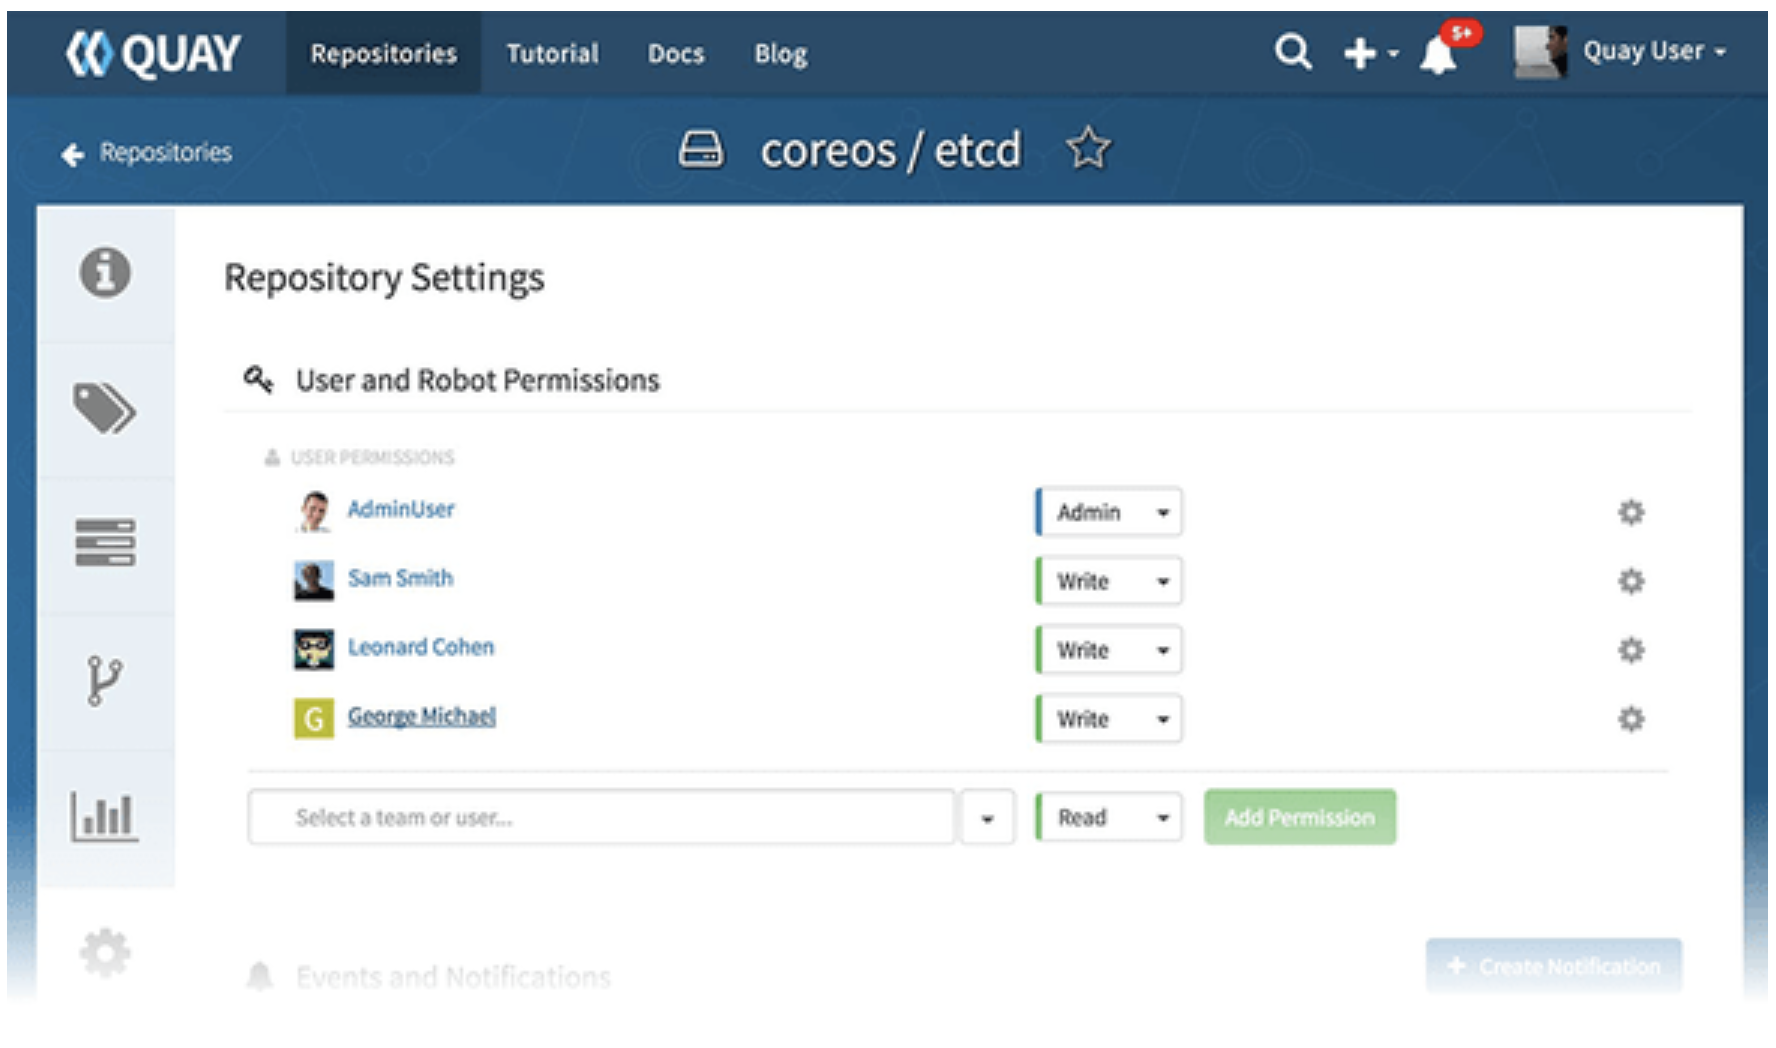
The “Quay WebUI” here is an example of completed install of Quay. Please remember that as part of your install, you already provide the Quay Server FQDN as part of the install process and this is the address you will use to access the Quay WebUI.
Open the Quay web UI using a web browser to complete initial configuration.
https://quay-enterprise.apps.yourquayserver.com (Example FQDN)
The following Text is step-by-step series of questions that will be asked of you from the Webui when you open it for the first time.
# DBpostgresql.quay-enterprise.svc.cluster.local
# SuperuserUsername: adminEmail address: admin@ssc.tscPassword: <REDACTED># Note: Document encrypted password value
# Server ConfigurationServer hostname: quay-enterprise.apps.yourquayserver.comTLS: "My own load balancer handles TLS"
# RedisRedis Hostname: quay-enterprise-redis.yourquayserver.localRedis port: 6379Redis password: (leave blank)
# Registry StorageStorage Engine: Locally mounted directoryStorage Directory: /datastorage/registry
# Internal AuthenticationAuthentication: Local Database Test Quay
Now that you have a working Quay server, select Tutorial from the Quay home page to try the 15-minute tutorial. In the tutorial, you learn to log into Quay, start a container, create images, push repositories, view repositories, and change repository permissions with Quay.(Highly suggested if you have never used Quay before)
Test access to the Quay registry.
Note - To enable these tests, create a new test repository using the Quay web UI. In the example below, the test repository is named repo that you have created that will have images.In our example we use “someimage-test”.
$ docker pull docker.io/busybox$ docker tag docker.io/busybox \ Quay-enterprise.apps.yourquayserver.com/someimage-test/test$ docker login -u="admin" \ -p="<Encrypted password>" quay-enterprise.apps.yourquayserver.com$ docker push \ quay-enterprise.apps.yourquayserver.com/tractor-supply-test/test
Configure LDAP Authentication
Configure Quay to use your organizations Active Directory/LDAP directory service to authenticate user logins. You should have this information handy before doing this portion of the config.
LDAP Server name and location(FQDN)
Base DN
User Relative DN
Administrator and password for the LDAP server.
Important - The user configuring LDAP authentication must exist in LDAP. During the process of configuring LDAP authentication, Quay will require the user to enter their LDAP password to complete the configuration process.
#From the Quay WebUI#
Super User Admin Panel → Registry Settings → Internal Authentication Authentication: LDAPLDAP URI: ldap://LDAP1.server.comBase DN: DC=ssc,DC=””User Relative DN: OU=Users Administrator DN: CN=yourldap,OU=yourServiceAccounts,DC=””,DC=””Administrator Password: <REDACTED> UID attribute: sAMAccountNameMail Attribute: userPrincipalName LDAP configuration steps:1) Enter LDAP auth settings2) Click save config3) Enter local password4) Enter LDAP password if web UI prompts for password again
Conclusion
You have completed getting your Quay server installed and it’s now running in the OCP environment as a service. You have also added Object Oriented storage ( S3 or Google cloud storage, or some other supported OOS).
With the completion of the Quay installation, the next step to complete container content security is to integrate with Clair, which scans container images for security vulnerabilities. While each product is valuable as a stand-alone install, the Quay / Clair integration provide an exponentially higher level of container security.
About the Author

Mike McDonough is a Senior Red Hat Architect with Stone Door Group and is responsible for designing and blueprinting OpenShift and Ansible architectures for Fortune 500 customers spanning a broad array of Red Hat technologies. With a 25+ year career in enterprise IT, Mike has deep experience in cloud architecture, automation, performance tuning and information security. Stone Door Group offers rapid adoption of Red Hat cloud technologies with their OpenShift Container Platform Accelerator. To speak to Mike, drop us a line at letsdothis@stonedoorgroup.com